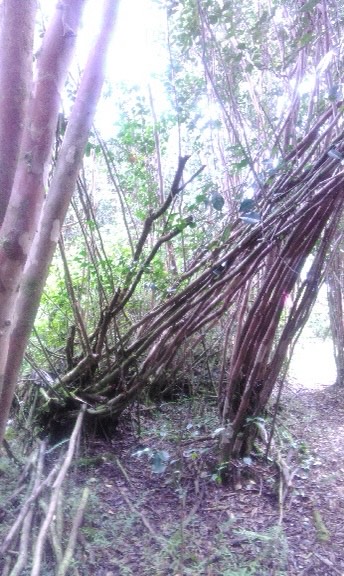
The property that I am currently living on is basically a forest of strawberry guava (Psidium cattleyanum) with functional spaces carved out of it. Often a whole stand will fall over and grow while leaning, like so:
I am pretty sure this happens because of their fairly shallow root system. This can create issues when one is trying to grow more useful trees nearby, so one of my jobs on the farmstead is to remove these leaning stands of trees. My first thought when handed this task was, “what can we use this for?” Now, I can find very little information about this wood online, but from what I have heard from my farmstead host it grows fast, grows everywhere, and yields a very hard wood. Outside of its tendency to fork, it also grows sorta straight and pole-like. The primary disadvantage to using seems to be its susceptibility to borer beetles. It seemed to me that treating the wood with borates would be a cheap and reasonably safe way to keep the borer beetles away, so with that in mind I decided to harvest some guava in the hopes of using it for carpentry projects.
The harvesting itself is a pretty straightforward process--the
timber readily takes a crosscut from a handsaw or reciprocating
saw (Sawzall). After lopping off the thin top bits and any errant
branches (and feeding them to my ungulate associates), I hauled
the timbers to the kukui (candlenut) tree to be debarked.

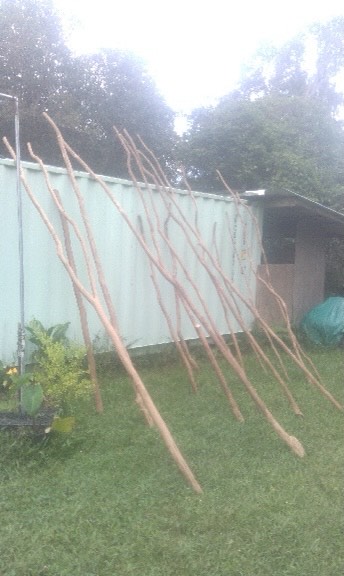
Using the crotches of the tree as supports, I used my machete as a drawknife to debark the timbers: I held the spine of the machete in my gloved hands, and drew the edge towards me to peel off the bark. Some sections necessitated a shave more in line with regular knife usage. Smaller or more gnarled sections were handled by my pocketknife, as were sections that required a free hand to stabilize the wood. I then set them under cover while preparing more debarked timbers. Once I built up a reasonably-sized batch, I mixed up a borax solution--roughly 10 ounces of borax to the gallon. I poured the solution into a 2-gallon pump sprayer. I then got all the timbers in a workable spot, a small pit near the outhouse. From there, I proceeded to spray the whole surface of each timber with the borax solution. I then stacked them against the shipping container to be sorted and graded:
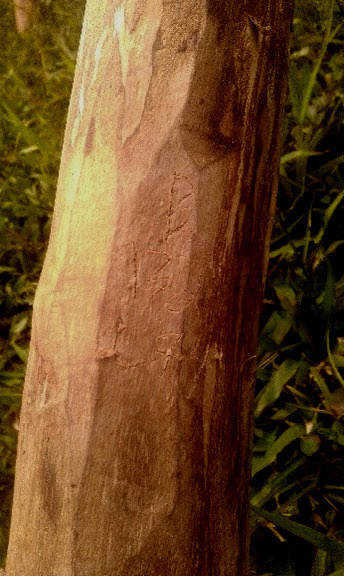
You might be able to see above that I used a scribing tool to scratch a simple code into the timbers. The letter is the grade, which is pretty far from professional:
A is for timbers that I would be comfortable using for main framing posts in large and/or inhabited structures.
B is for timbers that can be used for smaller framing members in large structures, or for posts in smaller structures or outbuildings.
C is for timbers suitable for purlins or wall framing for larger structures, or as secondary framing members in smaller structures.
D is for timbers only acceptable for purlins or wall framing in smaller structures.
The associated numbers represent how many inches of each grade the timber contains. Concerned readers should note that none of the pictured timbers are considered A grade.
After the timbers were measured, graded, and scribed, I let them have a little extra sunshine before moving them under the rafters in the goat barn to dry:
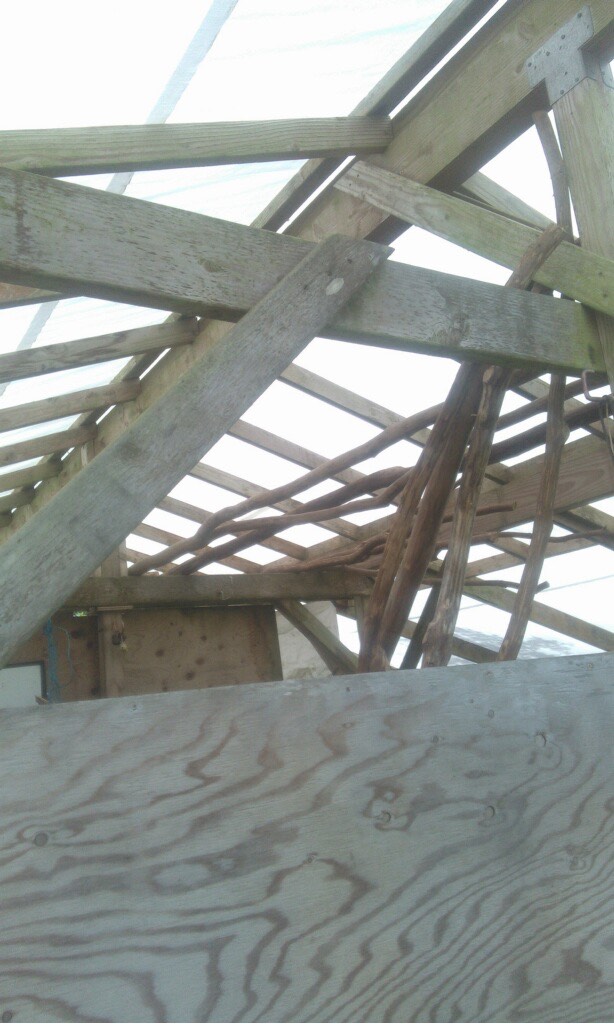
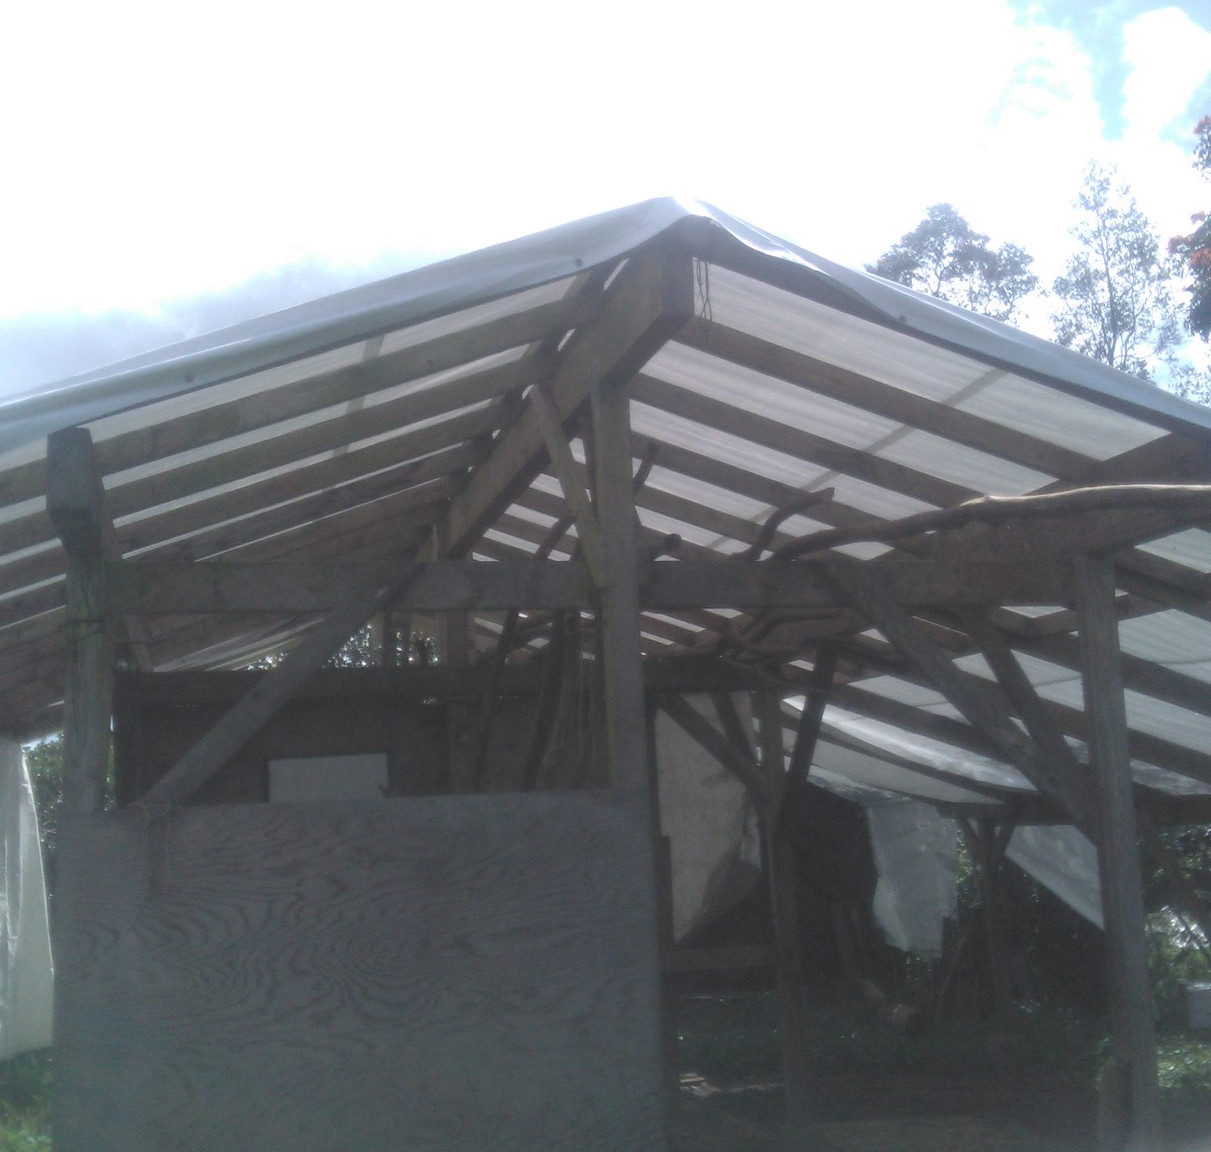
From here, the timbers will be selected for projects according to their grade and measurement. I am planning on treating posts by charring the areas that will be in contact with the ground (er, rocks, mostly). The first main building project will be a new outhouse, though several other carpentry-related posts will likely pop up between now and then.
Thank you for reading, take care!